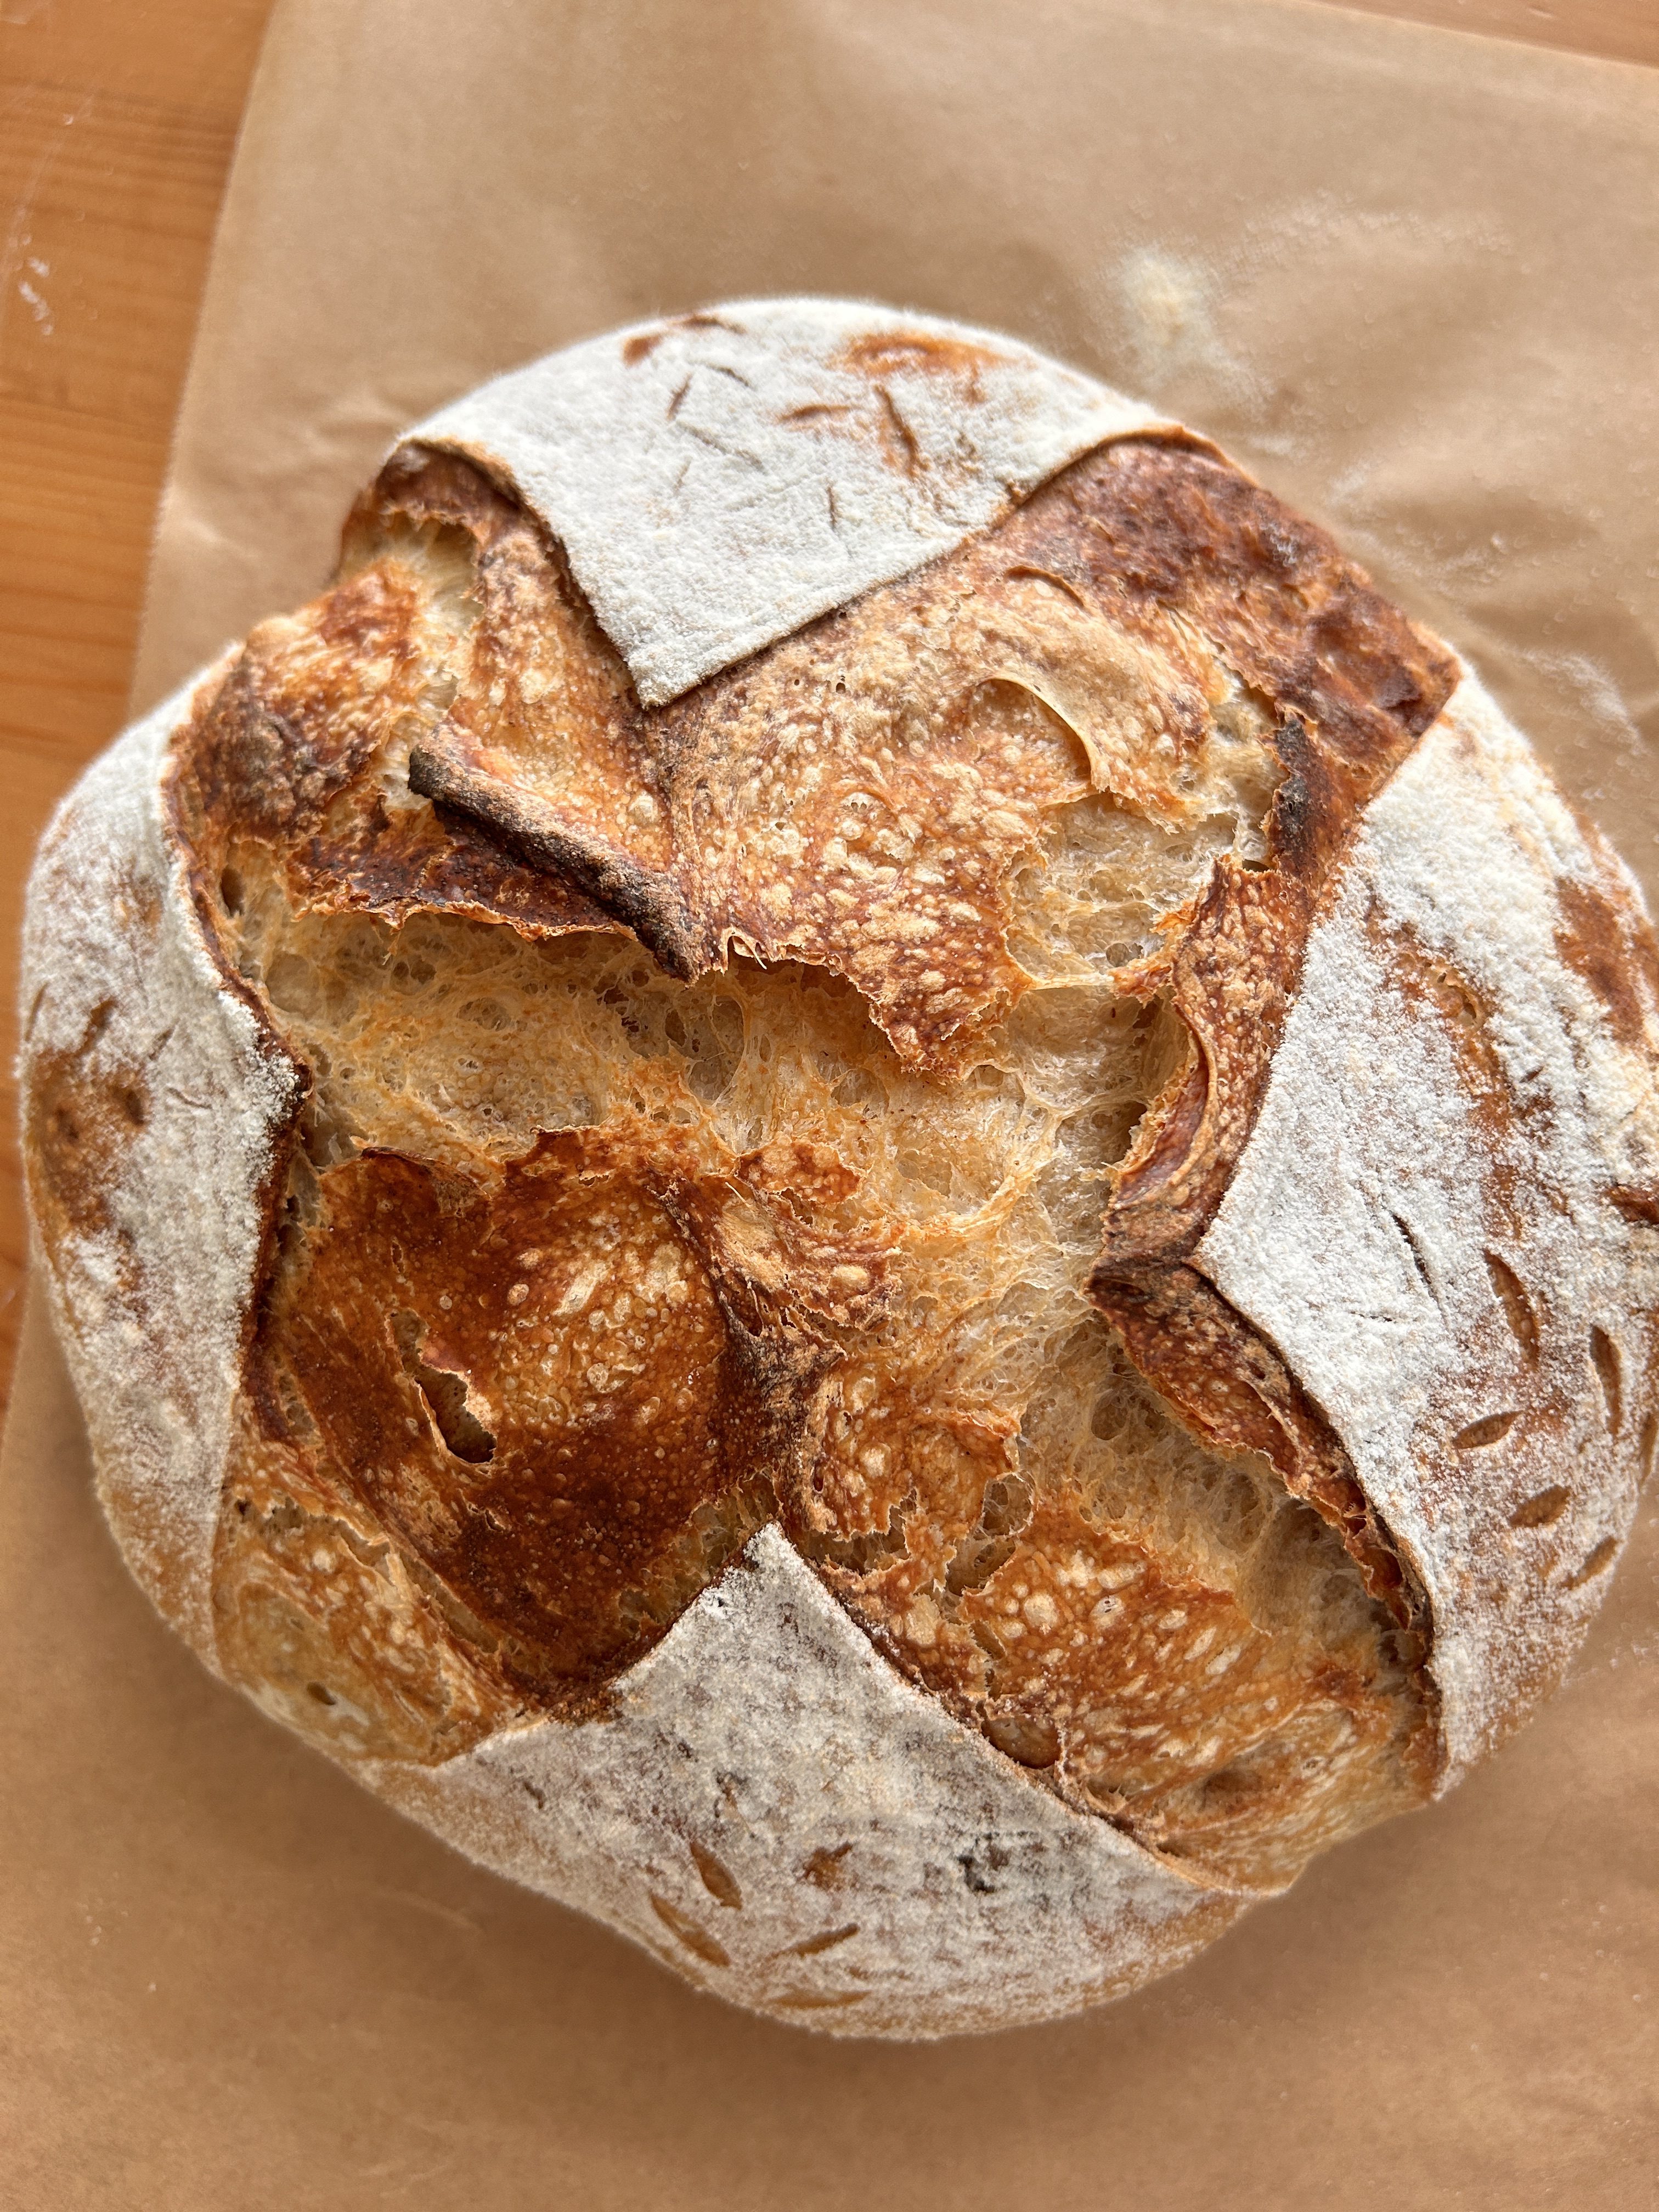
It took me a long time to realize that sourdough isn’t a math exam—it’s a relationship between flour, water, and timing. I’ve spent months perfecting this specific 70% hydration recipe because it’s the “sweet spot.” It’s manageable enough for beginners but produces a loaf that looks like it came from a professional bakery.
If you’ve been waiting for a sign to finally start baking, this is it. Let’s get into it.
Why 70% Hydration?
When I first started, I tried those high-hydration, “pro” recipes and ended up with dough stuck to my hands, my counter, and my soul.
This recipe uses 70% hydration. This means the dough is strong enough to hold its shape easily while still being hydrated enough to give you those beautiful air bubbles (the “open crumb”) we all love. While I usually prefer to mill my own flour for the flavor, I’m using unbleached King Arthur All-Purpose here. It’s consistent, reliable, and accessible for everyone.
The Ingredients
- 350g Warm Water: Not hot! You want it just slightly above room temperature to keep the yeast happy.
- 100g Active Starter: Make sure it’s bubbly and at its peak. (Don’t have one? You can order my mature dehydrated starter here.)
- 500g Flour: Simple, unbleached, I Prefer Hard Red Wheat.
- 10g Sea Salt: Don’t skip this—it controls the fermentation and makes the flavor pop.
Step-by-Step Instructions
1. The Initial Mix
Start by whisking your active starter into the warm water. Do this until the water looks milky and the starter is mostly dissolved. Add in your flour and mix by hand or with a dough whisk until you have a shaggy dough. No need to over-knead here! Cover the bowl and let it rest for 30 minutes to 1 hour. This “autolyse” period allows the flour to fully hydrate before we add the salt.
2. Add Salt & Build Strength
After the rest, sprinkle your 10g of sea salt over the top. Now, the work begins. Over the next two hours, you’re going to perform 4 sets of stretch and folds, spaced 30 minutes apart.
To do a stretch and fold, grab one side of the dough, pull it up high, and fold it over the center. Rotate the bowl and repeat four times. You’ll feel the dough get tighter and smoother with every set.
3. The Bulk Ferment (The “Patience” Phase)
This is where most people get tripped up. Cover your bowl and let it sit on the counter. You aren’t looking for the dough to double; you want it to grow by about 50%.
Pro Tip: Look for little bubbles on the surface and a slightly domed edge. The dough should feel soft, jiggly, and full of air. If it feels dense, it needs more time!
4. Shape, Refrigerate, Wait, Bake
Finally—sing it with me now—🎶 shape, refrigerate, wait, BAKE! 🕺🏻
Once shaped, I always recommend an overnight cold proof in the fridge. It develops that signature sourdough tang and makes the dough much easier to score with a blade right before it hits the oven.
Skip the Frustration: The Starter Secret
If you’ve tried to make your own starter and failed, please don’t give up on the bread. Starting a culture from scratch is actually the hardest part of the whole process.
To help you get straight to the fun part (the eating!), I’ve dehydrated my own mature, active starter. It’s the exact same one I’m using in this recipe. I’ve done the weeks of feeding and monitoring for you—all you have to do is wake it up.
Click here to grab my Sourdough Starter — you’ll be ready to bake your first loaf in just a few days. 🤝
What’s Next?
Sourdough takes practice. Your first loaf might not be perfect, and that’s okay! It’ll still taste better than store-bought.

Aly’s Sourdough Recipe
Recipe by
Servings
1 large loaf
Prep time
10 min
Cooking time
—
Calories
250/300 kcal
A beautiful, reliable 70% hydration “master loaf” designed for manageable handling and a perfect starting loaf to begin perfecting. This recipe also yields great inclusion bread – I recommend roasted garlic and rosemary.
Ingredients
- 350g warm water
- 100g active starter (bubbly, at peak)
- 500g unbleached flour (or fresh milled hard red wheat)
- 10g sea salt
Directions
- The Initial Mix & Autolyse
- Whisk the starter and water until milky.
- Stir in the flour until a shaggy dough forms.
- Cover and rest for 30–60 minutes.
- Build Strength
- Sprinkle 10 g salt over the dough.
- Perform 4 sets of stretch and folds, spaced 30 minutes apart. *To fold: Pull one side of the dough high and fold it over the center; repeat 4 times until the dough feels tight.
- Bulk Fermentation
- Cover and let sit at room temperature until the dough grows by about 50%.
- Look for surface bubbles and a jiggly texture.
- Shape & Bake
- Gently shape the loaf.
- Place in the fridge for an overnight cold proof to develop flavor and make scoring easier.
- Score and bake.
- Personally, I enjoy baking my loaves on an open sheet pan with plenty of steam at 450°F for 20 minutes, then dropping the heat to 400°F until the internal temp is 205°F. A dutch oven works just as well.
Notes
I used to sprinkle the top of my loaves with white rice flour to enhance my scoring.
Leave a Comment